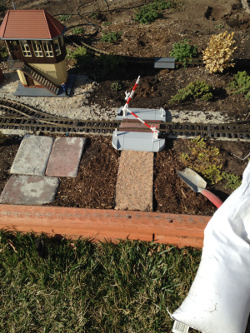
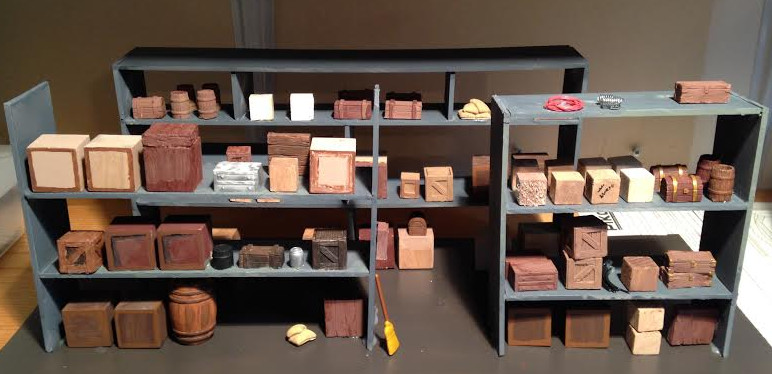
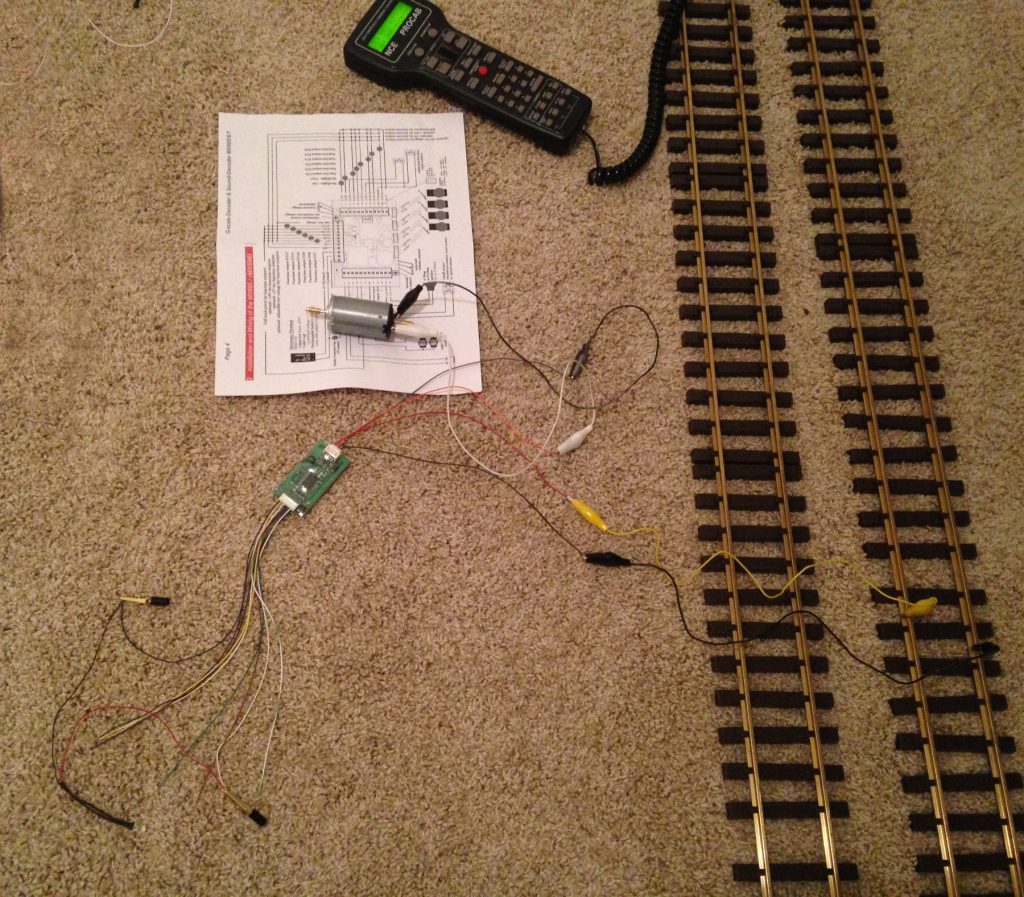
Switch control

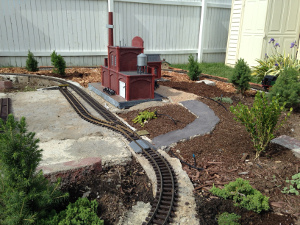
I’ve got my first servo-controlled switch on the layout. I’m using a Tam Valley servo singlet,
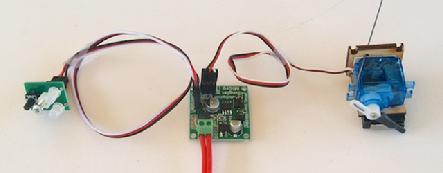
which gets both power and DCC signal from the track. The amperage draw is nominal when the decoder is just listening, and since at most I would ever move two of these simultaneously I think it’s ok. My layout is rather on the small side–small enough that I don’t expect to ever run more than two locomotives at a time.

Continue reading Switch control

Laser Cutter

Just bought this little goody off eBay.
laser-cutter
I’ve read some posts on the various train forums that this can be a really useful tool for building structures, making rolling stock, and generally fiddling around. We’ll see how it goes.

Harp stand

I’ve been wanting to have a visual indicator for switch direction and I decided on these Ozark Miniatures harp stands. The points are being moved by a servo on the other side of the track, which also moves the harp stand.


Factory outside

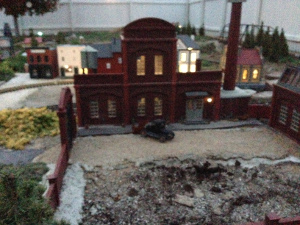
I’ve completed the factory interior and put it out on the layout. It’s set above the level of the terrain so that theĀ loading dock is at the correct height for flat or boxcars to load the motorcycles.

Shop Window Details

Here’s how various interior parts were made…

Bookstore
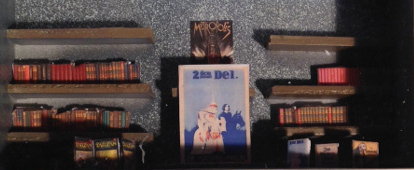
The book spines are a mix of sizes of styrene glued together and painted, and some images printed and stuck to styrene and sprayed with UV resistant spray. The books where you can see the covers are also styrene with images attached. I tried to find images of older books (the 1920’s E.R.B Tarzan books for example, in German) and posters to use. The open book in the center was cast from a HistArts set of molds that I bought to create dining car and warehouse interiors

Continue reading Shop Window Details

Sand house

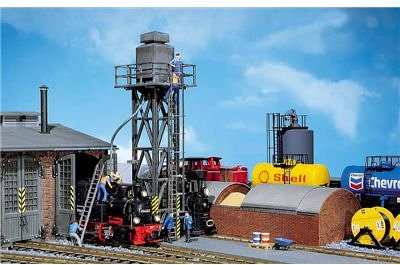
Locomotives increase their traction by applying sand to the rails. The sand is carried in tanks on the loco and directed to the wheels through a series of tubes. In order for the system to work (not clod) the sand must be dry. Thus the sand house, a building where sand is dried before being pumped into the sand tower for loading on the trains.

I saw this online:

and really wanted one.
Continue reading Sand house

Decoder choices

When it comes to DCC, the options are almost unlimited. This is especially true of decoders, the electronics that live in locomotives and control the motor(s), lights, and other functions. You can find simple large scale decoders for under $50, or full-featured ones for over $200. Some have more functions, some sounds, some have features like special lighting effects or control of a fan-driven smoke generator. Obviously, those that have more features cost more…
Continue reading Decoder choices

JMRI Pi

I’m now set up to run my trains using JMRI. It’s a cool Java-based interface that allows you to send commands to a DCC command station (like my NCE setup) to control trains. All it took was a $30 Raspberry Pi computer, a $10 WiFi dongle, and a $10 USB-to-serial cable.
Here’s the (neat!) shell of the layout Pi:
raspberry-jmri
Here’s the desktop:
raspberry-jmri-vnc

A Pond?

The hole you see here
Pond being dug
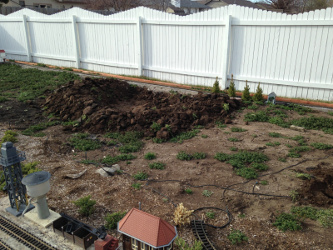
will be a pond in the rear of the layout. Once I scrape together enough money for the materials, I’ll cut the concrete roadbed you see at the back of this image and remove it, replacing the on-the-ground track there with a bridge.

Still not much actual “garden” in the train area. You’ll notice that the weeds are doing fine, though šŸ™‚

Garden RR Progress

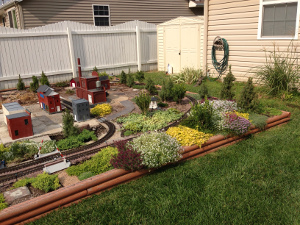
Here are two additional bits of progress.

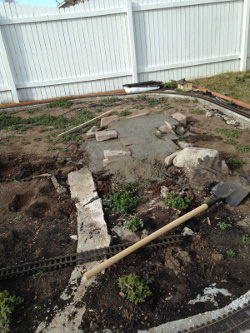
The first is the pad for my factory and warehouse. I’ll put the buildings out once it’s dry, possibly tomorrow.
Factory pad

And here’s a dirt/gravel road idea I’ve been wanting to try:
Gravel road

That’s two pieces of plastic door trim, painted with exterior paint to protect from UV, buried in the soil. Then I dug out between them and added rough sand to serve as gravel. I hope that these edges will help keep the sand in place so the road doesn’t disappear in the first rain.