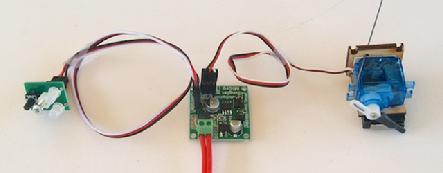
I’ve got my first servo-controlled switch on the layout. I’m using a Tam Valley servo singlet,
which gets both power and DCC signal from the track. The amperage draw is nominal when the decoder is just listening, and since at most I would ever move two of these simultaneously I think it’s ok. My layout is rather on the small side–small enough that I don’t expect to ever run more than two locomotives at a time.
Here are some pix
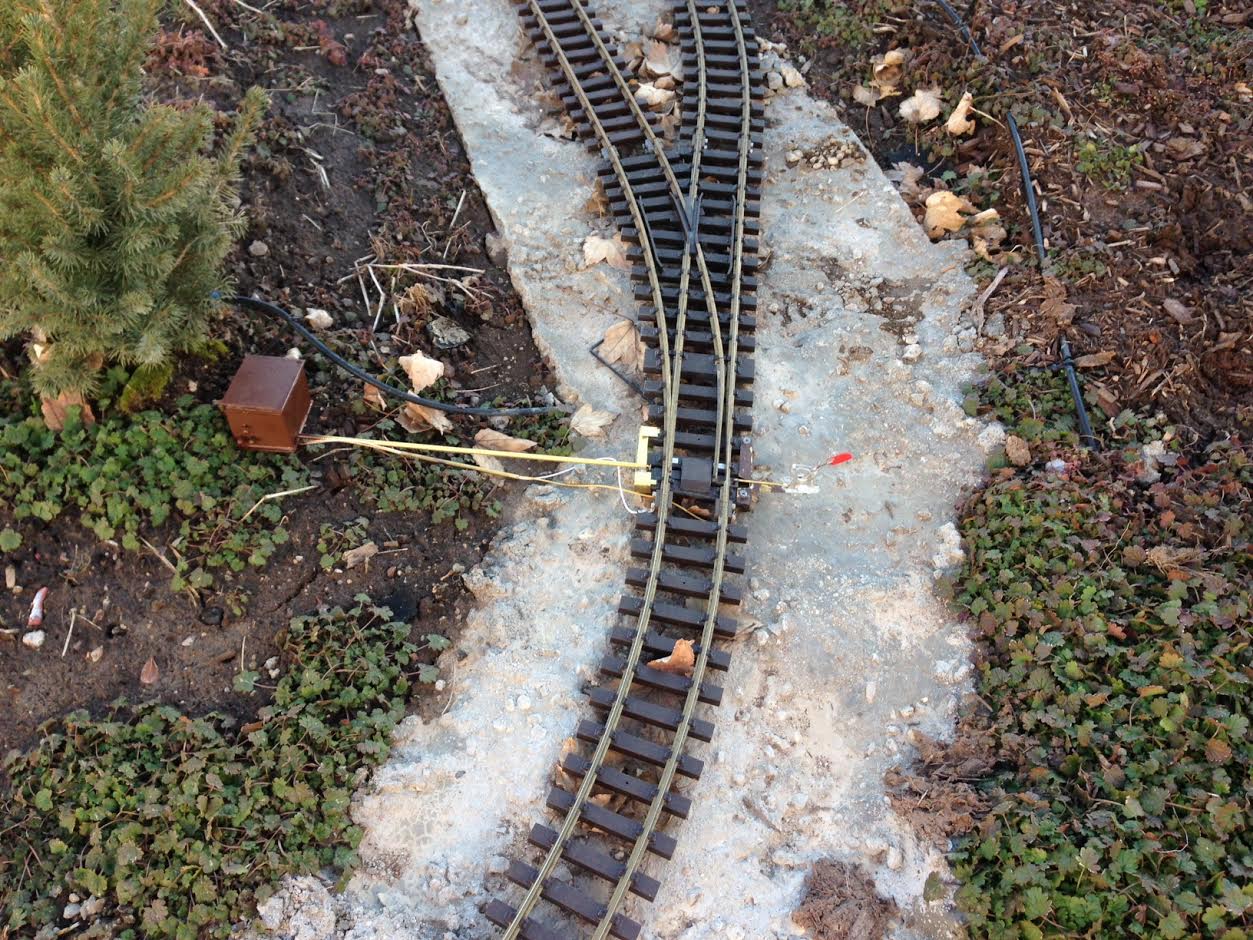
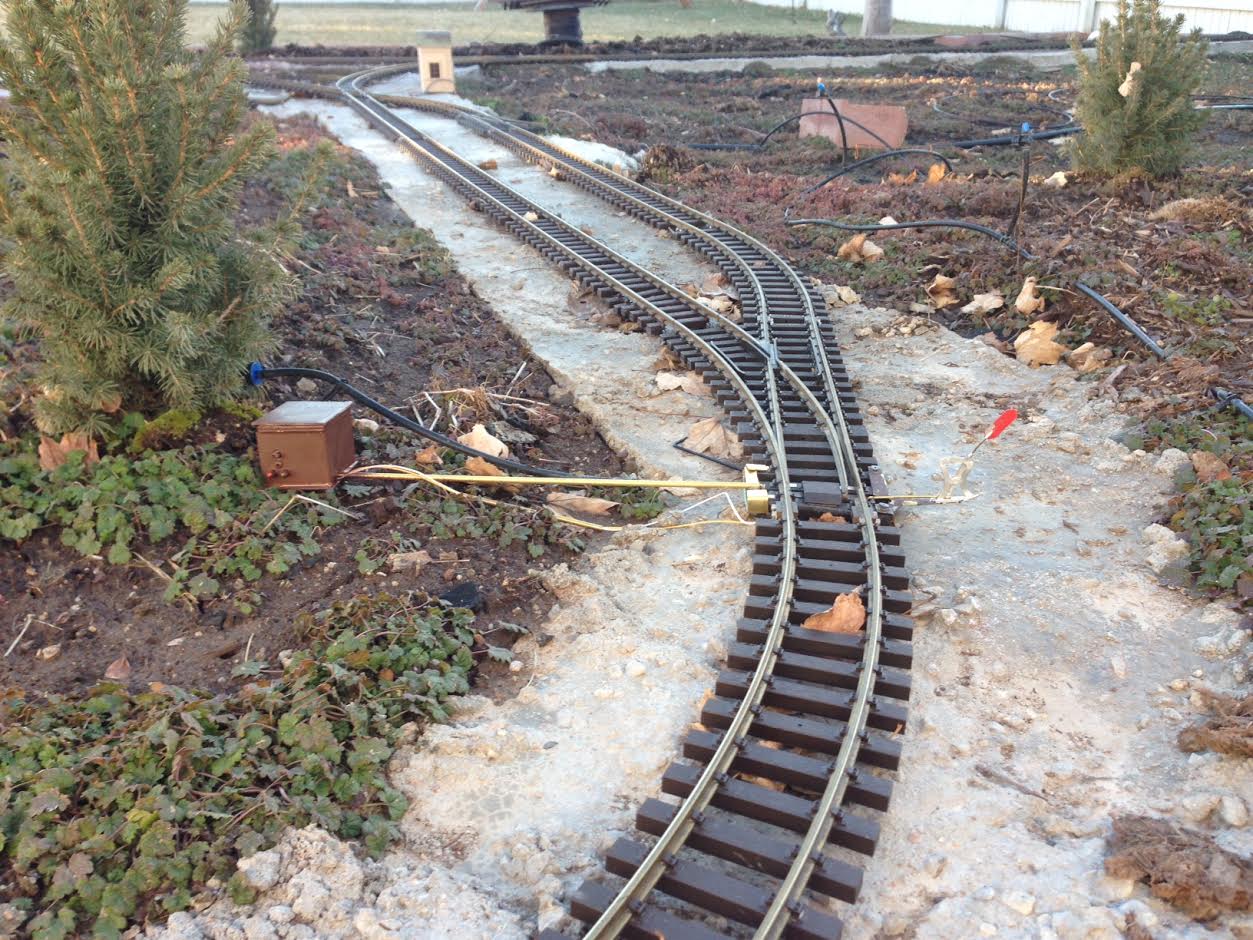
This is a section that hasn’t been leveled or ballasted yet, but you get the idea. The brown plastic box contains the singlet and servo. The brass tube holds the box a fixed distance from the switch and provides some stiffening for the brass rod that moves the switch points.
Once this section is ballasted, I expect the ballast to cover most of the brass tube. The brass “clip” that holds the tube to the ties will weather (or be painted, I haven’t decided yet) to a deep brown that I expect to blend in to the background or to be covered with ballast, since the top is within 1/16″ of the top of the ties. So the only visible indication will be the small (3x2x2) box nestled under the tree.
The harp stand on the right will also look better once the ballast hides the fact that the brass stip is holding it up
The servo and singlet were waterproofed with proven methods from the RC world. I disassemble the servo and greased the servo shaft with marine grease. Then I reassembled it and dipped it in plastidip. This should waterproof the servo quite thoroughly–I’ve seen servos done in this manner operating under water. The singlet was also coated with a generous coat of plastidip before installation in the housing.
The housing is built from laser-cut styrene and is sealed top and bottom. There are very small vent openings just below the “roof” that should allow any water that gets in to evaporate. Since I leave the track power on most all the time, I expect the warmth of the circuitry to assist with the process of evaporation and to help prevent condensation.
The four brown “blobs” on the closer end are the singlet “fascia” controller’s two lights, push-button switch, and mounting screw. There are holes through the side for these that were sealed on the inside with silicone. The button allows for manual operation of the switch points without resorting to a throttle.
Here’s a video of the test setup:
By the way, if you’re interested in animation, I’d highly recommend looking in to the servo singlets. They’re not very expensive (for what they do) and can be thrown from a throttle or manually from the “fascia” controller, or triggered by an electronic input. It’s a really neat piece of kit. I’m thinking I will use these for crossing gates and some other animation I want to get to eventually
Overall, I’m pleased with how this has turned out. I was hoping to have electronically controlled switches (certainly in the less-accessible ares of my layout) but without the unsightly track-side plastic boxes that LGB, Piko, or TrainLi use. This method allows me to have the appearance that the switches are controlled by the harp stands, even while they are throwable from the throttle. And the very visible harps provide an easy to see indication of how the points are aligned. Sort of the best of both worlds. In addition, getting the power and signal from the track at the point where the mechanism is eliminates the need for any additional wiring.
As a last note, I’ve set up a RaspberryPi with JMRI connected to my NCE PowerPro command station. This means that the layout–both trains an switches–is controllable from any web browser. This afternoon I added a webcam to the Pi so I theoretically could start a train running in the morning and watch and control it from my basement office during the workday. Not that I’d ever do that, of course